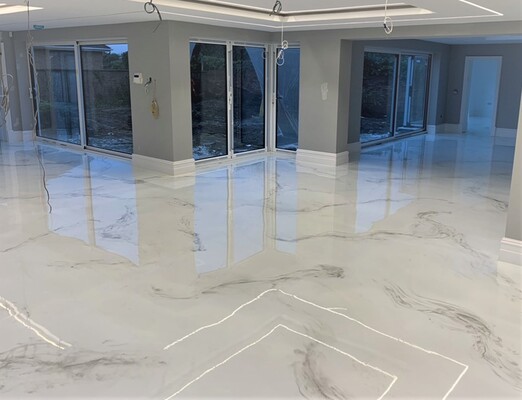
Marble is a favorite for flooring when the desired look is sheer elegance and sophistication. However, having real marble installed in your bathroom, kitchen, or another area is very costly. Luckily, you can create an authentic-looking faux marble floor at a fraction of the cost of real marble using epoxy.
Epoxy comes in many colors, so you can create your marble look in any color you desire. Epoxy is also highly durable and has longevity, so you can feel confident you are creating long-term, amazing-looking flooring.
Here is how epoxy is used to create a marble-look floor.
Picking the Colors
One of the most important steps is picking colors that will create the color of marble you want. Most marble is made up of two colors, although some have three. You will need to pick two contrasting colors, such as white and black or blue and white. With white or black marble, you can stick to those two colors exclusively.
If you go for colored marble, such as blue or pink, you will need white as well as more than one tone of the color you are choosing. If you feel you need some extra color, you can pick a third color, such as metallic silver or gold. You want to purchase an epoxy primer that matches your marble colors of choice.
Prepping the Surface
When doing epoxy flooring, prep work is essential. You need to make sure the flooring surface has been completely repaired and cleaned. Remove any previous coatings. Also, be sure to tape off and plastic anyplace you do not want the epoxy to get on. Then, roll on the epoxy primer and wait for it to dry.
Adding the Epoxy
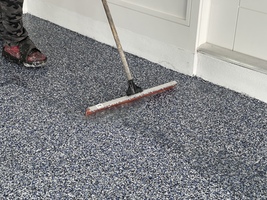
Now for the fun part! Pour your colors randomly onto the floor. Use a squeegee to blend them and completely cover the floor, taking care to not over blend the colors. Make sure to work the epoxy into the corners and edges with a paintbrush. If you want more pronounced veins, place some of the colors you want the veins to be in a spray bottle and spray them on. Use a roller to lightly roll over the entire floor, so that it is even.


